
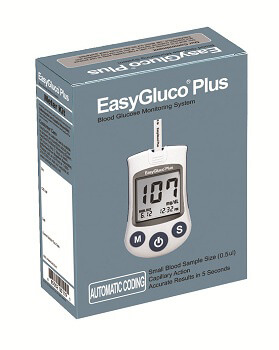
The EasyGluco Plus® Blood Glucose Monitoring System provides reliable test results in just 5 seconds and only requires a small sample size of blood.
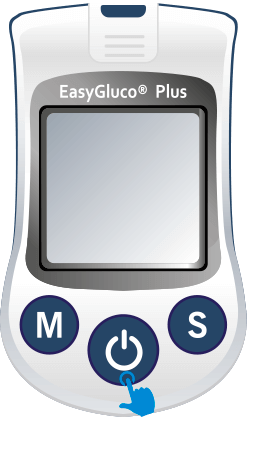
Power on the EasyGluco® Plus meter by pressing the power button and holding for 3 seconds. The meter will beep and automatically power on.
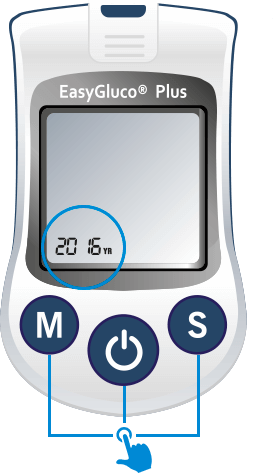
To set the year, begin by pressing the M button to increase the year, or the S button to decrease the year. Press and release the power button when you have made your selection. To set the date, use the M or S button to adjust the Month. Once you have selected the correct month, press the power button to make your selection. Continue these steps to set the day and time. Press and release the power button when you have set the date and time.
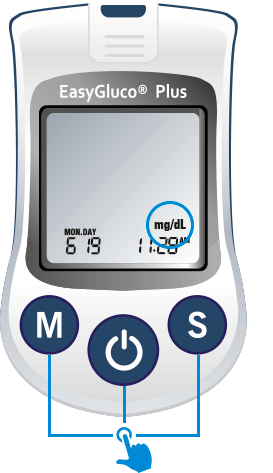
Your EasyGluco Plus® meter is preset to mg/dL, which is the unit of measurement used in the United States. If you need to change this setting to mmo/L, press the M or S button to change from mg/dL to mmo/L. Once you have made your selection, press and release the power button to advance to the temperature setting.
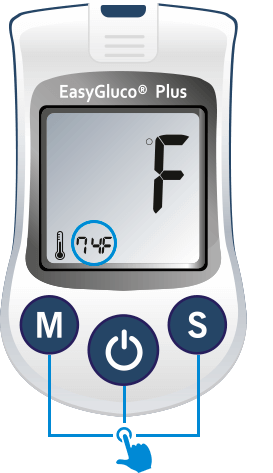
Next, you can set the temperature of your meter to read in Fahrenheit or Celsius. Press the M or S button to select Fahrenheit or Celsius. Press and release the power button when you have made your selection.
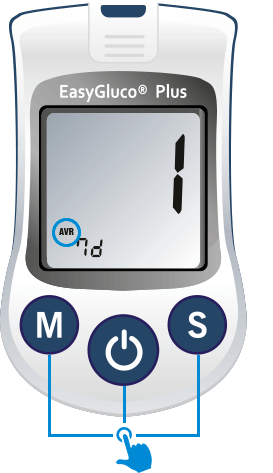
To set the Average date, use the M or S buttons to set the amount of days you would like to see an average for. Once you have selected the first amount of days for average, press and release the power button. You can repeat this 3 times and select 3 average dates for your blood glucose testing.
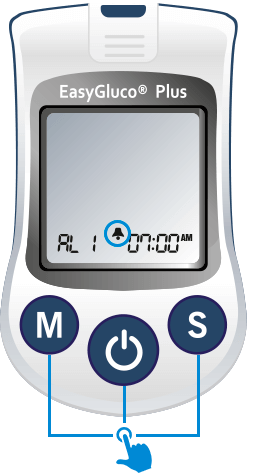
You may set up to 5 Alarms on your EasyGluco Plus® meter. To set the first alarm, use the M or S buttons to select on or off. If On is selected, use the M or S buttons to select the hour and minutes you want the alarm to notify you. Press the power button after you have made each selection. Continue these steps to set up to 5 alarms. Press and release the power button after you have made your selection.
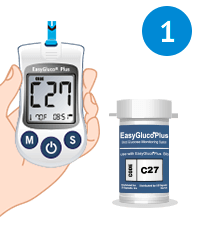
Insert a new EasyGluco® Plus test strip with the electrode end facing up into the test strip port. The meter will automatically power on and the code will appear. Confirm the code on the meter is the same as on the test strip vial. The test strip symbol will blink and now you are ready to test.
Place the end of the lancing device against your finger and draw blood.
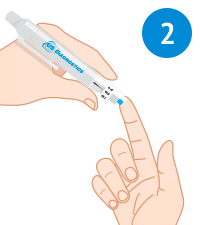
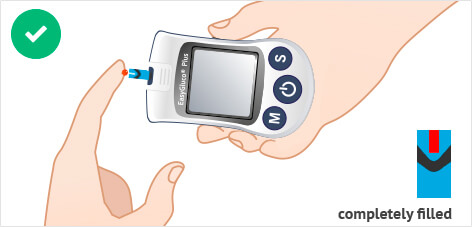
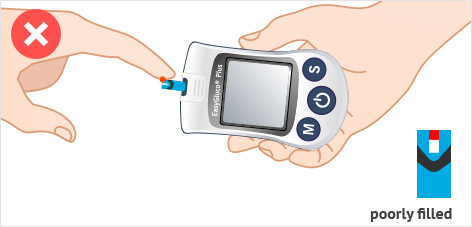
Place the blood from your finger to the tip of the EasyGluco® Plus Test Strip. The test strip will automatically draw the blood.
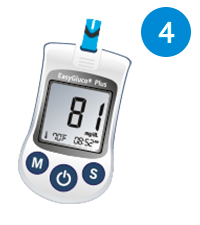
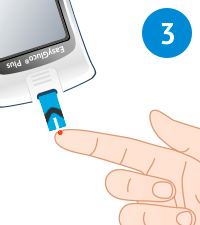
The meter will count down from 5 to 1 on the display. After 5 seconds, the meter will beep and your test result will be displayed on the screen.
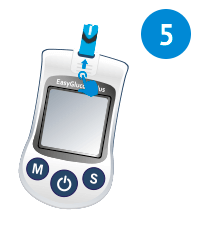
Remove the test strip by sliding the ejector button forward and discard the used test strip.
EasyGluco® PLUS Test Strips must be used with the EasyGluco® PLUS Blood Glucose Meters for the quantitative measurement of blood glucose level in whole blood. EasyGluco® PLUS Test Strips are for testing outside the body (in vitro diagnostic use only).
Keep test strip vial away from children. A child could choke on the cap or be harmed if the drying agent in cap is swallowed, inhaled, or contacts skin.
Refer to your EasyGluco® PLUS Owner's Booklet for detailed instructions on testing your blood.